Replacement for Lenovo 5D11A22506 non-touch panel - 13.3" 1920 × 1200 LCD panel
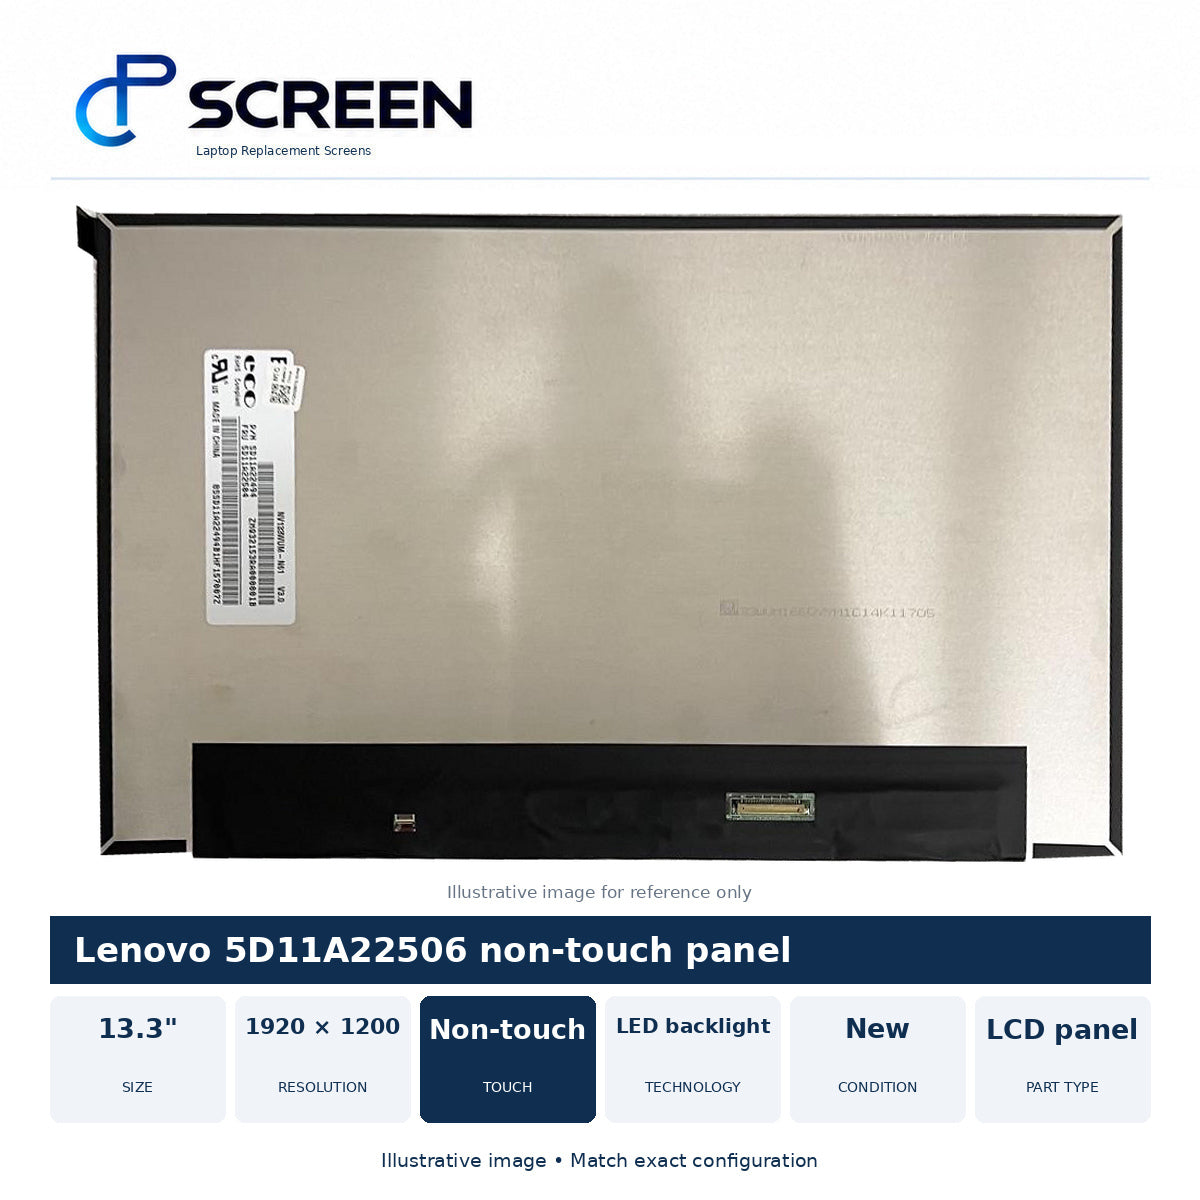
Technical Specifications
Specifications for Default Title.
| Brand | Lenovo |
|---|---|
| Part type | LCD panel |
| Screen size | 13.3" |
| Resolution | 1920 × 1200 |
| Display technology | LED backlight |
| Refresh rate | 60Hz |
| Touch / non-touch | Non-touch |
| Connector | 30 Pins / Reverse Uppa |
| Connector position | Bottom Right |
| Backlight | LED |
| Condition | New |
| SKU | SCR229NYX |
Only supplied specifications are shown. Missing details must be checked before ordering.
Understanding the specifications
Resolution, refresh rate and touch: match the original configuration. A listed alternative is not automatically an upgrade.
Connector and mounting: compare pin count, width, pitch, position, cable layout and brackets. A similar-looking connector does not confirm compatibility.
Matte and Glossy: Matte reduces visible reflections; Glossy has a reflective finish. Choose an available finish for the correct configuration.
Compatibility & Buying Notes
Before you choose your screen
13.3" 1920 × 1200 replacement lcd panel. Non-touch; LED backlight. Condition: New.
Selected source configuration: Type 1 Non Touch.
Before ordering: Selected non-touch 1920 x 1200 at 60 Hz. Match 5D11A22506, 291 mm panel width and original 30-pin reverse-UPPA connector geometry. Verify the 30 pins connection at bottom right. Check actual connector geometry rather than relying on a generic interface name.
Images are illustrative references; labels and minor visual details may differ. Match the stated configuration, connector, mounting and included components before purchase.
Photo note: The photo shows NV133WUM-N61 V3.0, listed with this revision in the source. Additional P/N and FRU text is not reliably legible; exact labels and supplied configuration are not guaranteed.
Photo note: Only NV133WUM-N61 V3.0 is reliably identifiable. Other P/N and FRU characters are unclear and are not confirmed by the photo.
Check Compatible Models
A matching laptop model is a starting point. Confirm that the selected screen also matches your original display configuration.
Before You Install
Test the screen before final fitting. If the display doesn’t look right, stop and contact us before continuing.
Installation precautions
- Shut down the laptop, unplug the charger and follow the manufacturer’s battery-disconnection procedure.
- Compare the replacement panel with the original before fitting. Never force a connector.
- Handle the panel carefully and avoid pressure on its surface.
- Keep protective film and identification labels in place during initial testing where they do not obstruct safe testing.
- If the display does not work as expected, stop. Disconnect power before checking connections and contact us for help.
- Keep the original packaging. Use a qualified technician if you are unfamiliar with screen replacement.
Customer Reviews
No reviews yet
How did your screen swap go? Share your experience with other buyers.
Recently viewed
Screens you view will appear here.
Browse Laptop Screens